Showing posts with label modifications. Show all posts

Saturday, February 29, 2020

New DBA rear rotors

After 8 years of hard track day driving, the rear rotors on the Z cracked at the last track day in October 2019.


I have replaced them with another pair of DBA 4000's, this time with the newer T3 slot design. 


Thank you to Michael at Autosphere for setting me up with these.

Saturday, January 13, 2018

Front brake caliper refresh

After 11 years of tracking the Z, the front brake calipers looked like this...


Given the age of the calipers and the abuse they had received, I decided to try out a new set of calipers. I noticed that Z1 Motorsports in the US offered a package that included 370Z factory Akebono calipers, adapter brackets to fit the 350Z, braided brake lines and a set of rotors to suit. Firstly, I downloaded the caliper template to make sure my wheels would still fit.


With everything confirmed to fit, I took the plunge and ordered a set of the brakes.


I love opening presents...


This is the adapter bracket fitted.


And the caliper is fitted with the Z1 Motorsports slotted rotor. 370Z rotors are 355 mm in diameter, compared to the 350Z's 325 mm. These should offer a little bit more heat capacity.


Here they are fitted with the wheel back on.

Sunday, September 17, 2017

On a roll

Looking back through my blog, the last time I made any suspension related changes to the Z was all the way back in 2010. So I started thinking about how I can make the car go faster around corners. After reading a post by my friend Tom at Honed Developments, I started thinking that I should fix the roll center on the Z and attempt to return it to factory specifications. As Honed doesn't make roll center adjustment kits for Nissans, I jumped on to the interwebs and found a company called Moon Face in Japan. After a few emails to Jesse Streeter, these arrived a few weeks later.


The roll center adjustment kit for the Z33 consists of three parts.


1) The ball joint kit (SAB14). Seems like I bought the last one as they announced that it is no longer in production.


2) The low angle adapter for the front upper arm (SLD11).


The ball joints and tapered collars fit at the points indicated below.


These images from Moon Face show the difference in angle of the upper arm (when using lowered suspension) with the factory tapered collar (left) and Moon Face tapered collar (right).


The difference between the Moon Face ball joint (left) and factory ball joint (right) can also be seen. It will reduce the distance between upper and lower arms to match the shorter strut.


3) The low angle adapter for the rear upper arm (SLD12).


The tapered collars fit at the point indicated below.


Below is the difference in angle of the upper arm (when using lowered suspension) with the factory tapered collar (left) and Moon Face tapered collar (right).

  
For someone like me who's not so mechanically skilled, I reached out to my friends Jim and Tom (from Honed) for help. Firstly, Jim helped me dismantle my suspension to remove the front knuckles.


The front suspension in pieces.


Then Tom pressed the factory ball joints out of the knuckles and pressed in the Moon Face items.


Pressings completed.


I had to use a ball joint puller, WD-40 and Loctite Freeze & Release to get the factory tapered collars unstuck. This is the ball joint for the front upper arms.


With the Moon Face ball joints fitted into the knuckles, Jim came over to help assemble everything again in the front. As a track day was looming, we ran out of time and didn't fit the rear new tapered collars as that would probably require an entire afternoon in itself. Now all that was left to do before track day was to get a wheel alignment.

A massive thanks to Jim and Tom for their help.

Saturday, February 7, 2015

RDA Slotted Rotors

It's time to replace the front rotors on the Z. This time I'm working with a smaller budget, so I thought I would try out the rotors from RDA (Part number RDA7685S for 350Z with Brembos).


Here is a comparison of mass for all the brake rotors that I have tried:

Dixcel DAV FS: ~9.5 kg
RDA Slotted: ~8.5 kg
DBA 4000: ~8 kg
DBA 5000: ~7.5 kg
X3E Motorsport: ~7.5 kg
Project μ SCR-Pro: ~7 kg

Along with the rotors, a new set of Project Mu HC+ 800 pads find their way into the brake setup (thanks Kam). I have also treated the Z to a fresh set of OEM wheel studs and lug nuts, the old set have served the car well over the past 8 years.

The proof will be in the pudding when I test out these brake pads and rotors next week at Sandown. I am anticipating some hot conditions, being at the height of summer; so it will be a good workout for the brakes.

Wednesday, November 19, 2014

Buying a friend's Bride

As mentioned previously, my friend Kam is parting out his Zed. As a result, I not only purchased a couple of his wheels but also his passenger side Bride seat; a Stradia II Sport to be exact.

So firstly, out with the factory seat...


Then in with the new seat, with modified fire extinguisher bracket to match (thanks Jim).


Sunday, November 2, 2014

Girls like handbags, I like wheels

I'll admit that this is one of my obsessions - wheels. The TE37 is a timeless wheel design in my opinion. An opportunity arose where my friend Kam (Kammo.Reloaded) had decided to part out his 350Z and sell it. Upon perusing the catalog of parts Kam had at his disposal, my attention was drawn to a couple of things; one of which was his pair of TE37 SL Black Editions (18 x 10J +20).


After a quick test fit at the front of the Zed, the two wheels had found a new home.


As they are currently fitted with Hankook Z221 285/30R18 semi slicks, I'm planning to test these wheels on the front at the next track day.


Thanks for the wheels Kam, and thanks for the pics Rebecca.

Tuesday, December 3, 2013

Graffiti Motorsports "K" Harness Bar

I installed a Graffiti Motorsports "K" harness bar in the Z.

Build quality: 5/5 - Sturdy construction with what appear to be strong welds.
Design: 4/5 - Relatively unobtrusive but sacrifices some space in the boot.
Fitment: 5/5 - All holes on the harness bar line up with factory holes on the car.
Presentation: 5/5 - Nice glossy black finish.

Now to sort out a harness.


Some other images here.

Saturday, January 19, 2013

The hoarding continueSL

These arrived about a month ago...


No surprise what they are - more TE37 Super Laps. This time, they are 18 x 10J +20 and they will live at the front of the Z as street wheels.


Here they are shod with 255/40R18 Hankook V12 Evo (K110).


Left: Before - 18 x 9.5J +22 with 245/45R18
Right: After - 18 x 10.0J +20 with 255/40R18


And a couple more happy snaps.


Sunday, December 30, 2012

Nismo GT LSD Pro 1.5 Way

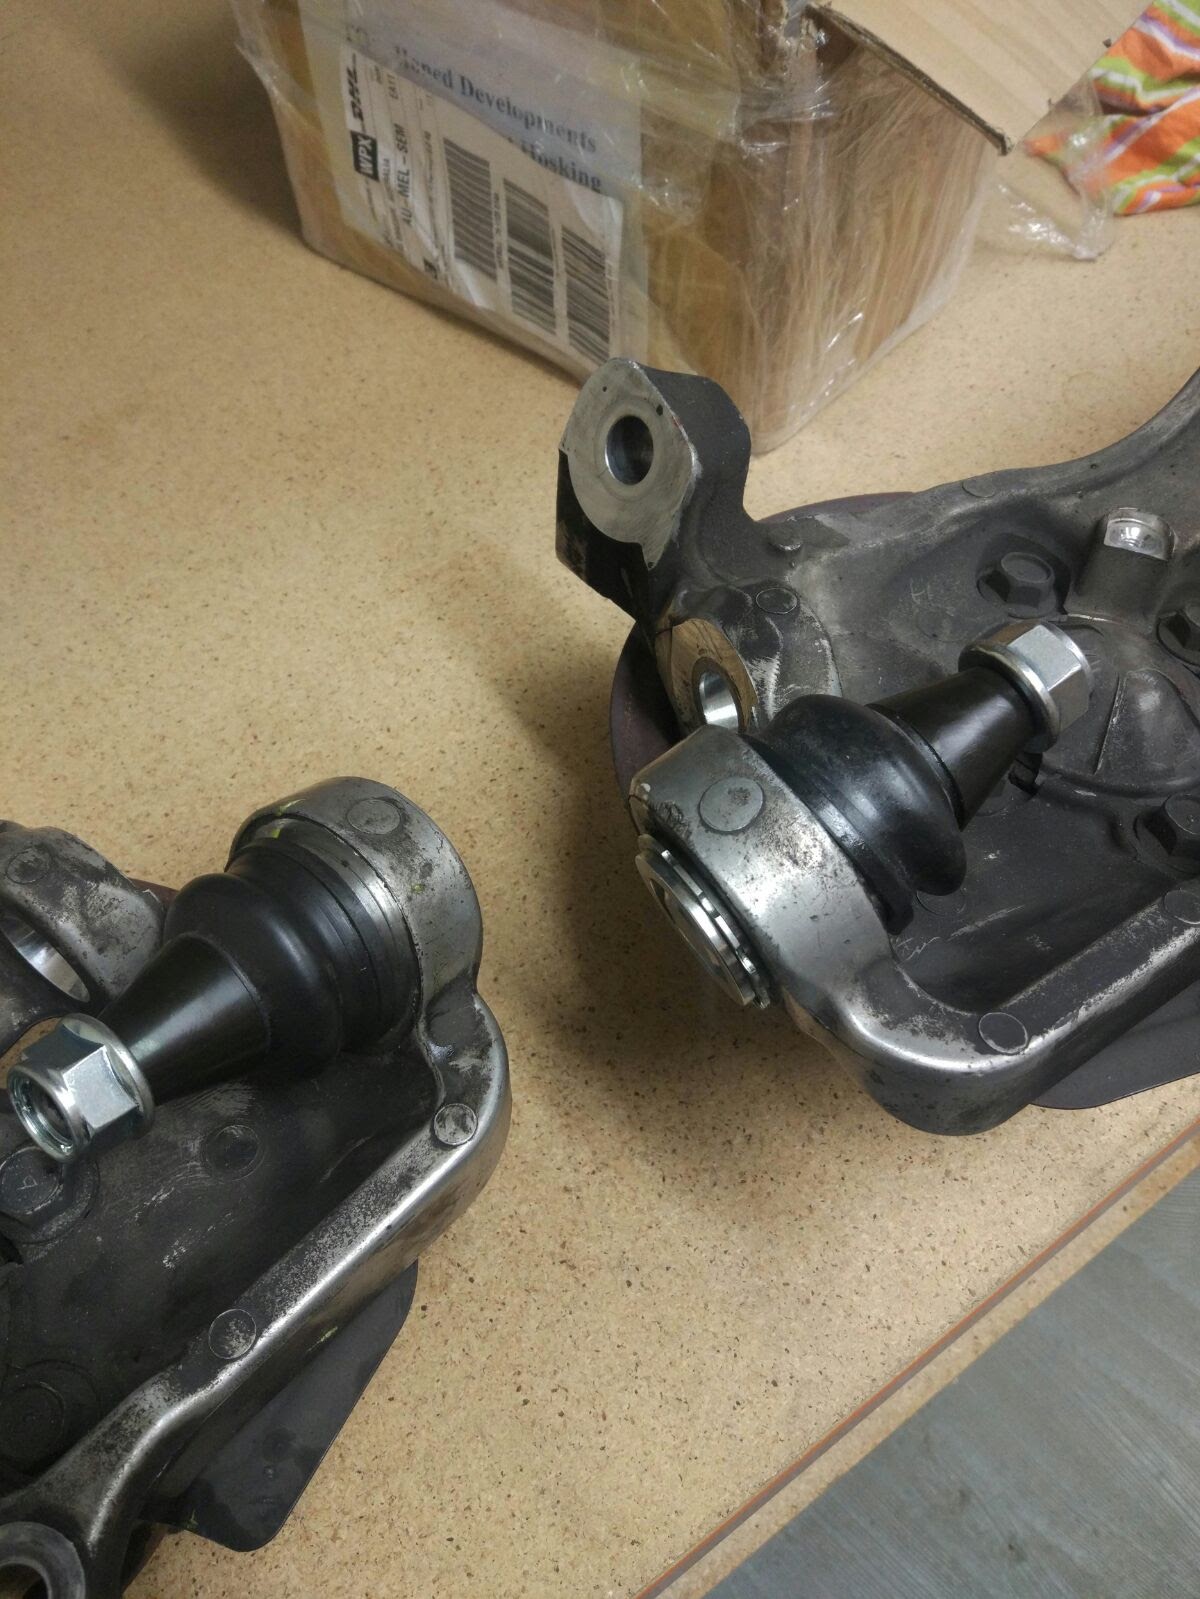
Time to get a little more serious, so I purchased one of these - a Nismo GT LSD Pro 1.5 Way. The kit is very comprehensive and contains everything to make installing it as smooth as possible. Along with the LSD, you get replacement ring gear bolts, side bearings, oil seals, washers for the drain/filler plugs, differential fluid; and most notably, side flanges (which appear to be two right hand side OEM flanges).


With an install of this magnitude, I enlisted the help of my friend +Dan, the master mechanic. A guide on how to install the LSD can be found here, so I'll just show a few photos. Here, the OEM diff and housing has been removed from the car.


It was then transported in the back of Dan's green FTO in Lancer's clothing, scrubbing all the way to a secret location...


...


Here, we set about using the air tool to do the hard work.


 The diff housing cover was removed first.


This is the OEM viscous unit.


With the viscous unit removed from the housing, it was time to remove the ring gear. This will be reused on the new LSD.


Ring gear is off...


The inside of the housing and ring gear were given a good degreasing. The old gasket goo was also cleaned off the rim of the housing.


The ring gear is all clean, ready to be attached to the Nismo LSD behind it. The bearings have also been pushed on to each end of the LSD.


Carefully bolting the ring gear on with a mallet.


Then tighten the bolts with the air tool.


The bolts were torqued to spec as well.


Carefully lowering the LSD (with bearing outer races attached) into the housing.


It was a tight fit, but it has to be. After some struggle to get the LSD into the housing and have everything bolted back together, I didn't take any more photos. It was simply a matter of bolting everything back together in reverse order of how it was dismantled. I left the initial torque setting of the LSD in the middle setting.


With the new diff installed and bedded in, my initial impressions are that it locks strongly and provides very good feedback about the grip available mid corner when provoked. I seem to also be able to point the nose of the car better mid corner compared to using the OEM diff. Now I wait for a track day to really test it.